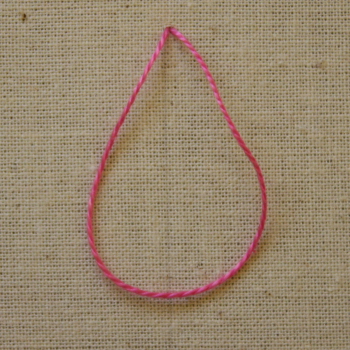
Chain Stitch
A good stitch for outlining an area or motif. It is a basic embroidery stitch. For a smooth result try to keep each stitch the same length. Short stitch lengths allow chain stitch to curve and curl smoothly. Chain stitch can be substituted for broad chain stitch (reverse chain stitch) in most designs.
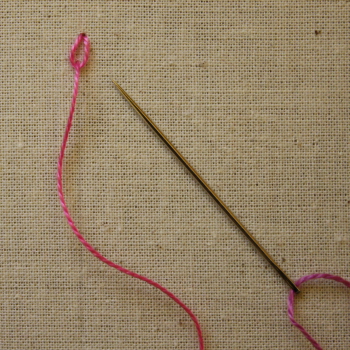
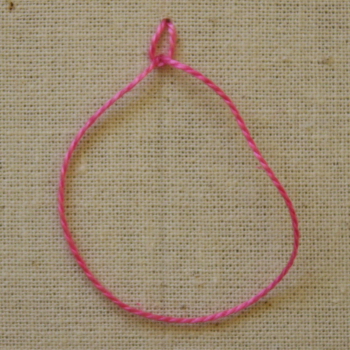
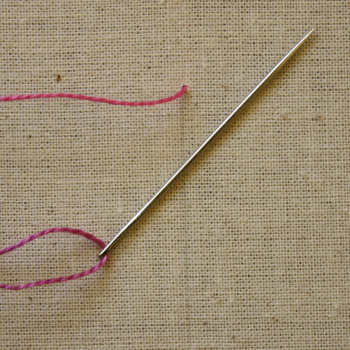 1) Bring your needle up through the fabric. |
 2) Push your needle down through the fabric as close to the point that it came through as possible. Do not pull the thread all the way through. |
|
|
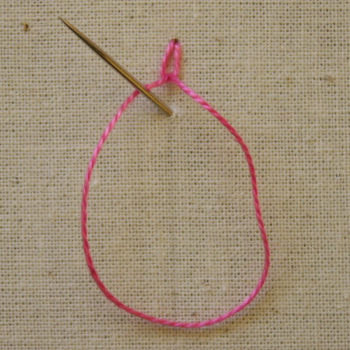
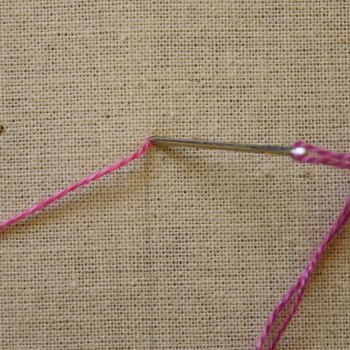
 4) Bring your needle up through the fabric, within the thread loop, a stitch length below the starting stitch. * The size of the stitch length is entirely up to you. |
|
|
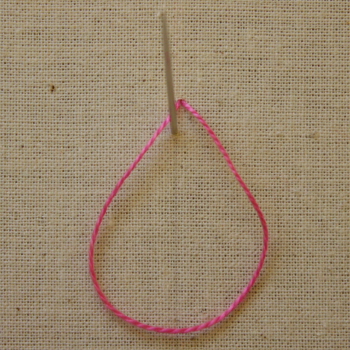
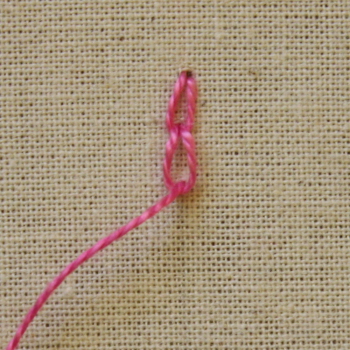
 6) Push your needle down through the fabric as close to the point that it came through as possible. Do not pull the thread all the way through. |
 7) You will now have a loop of thread. |
|
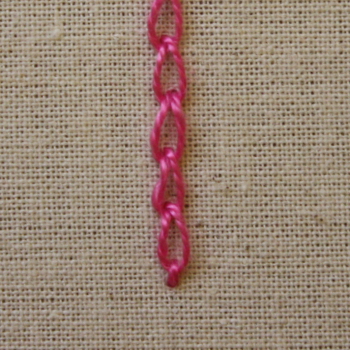
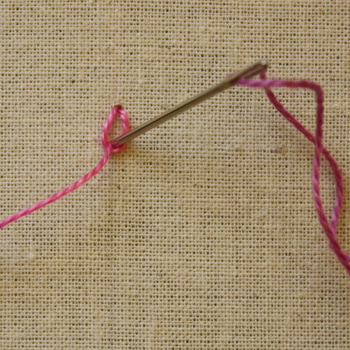
 9) Continue repeating instructions 6 to 9. |
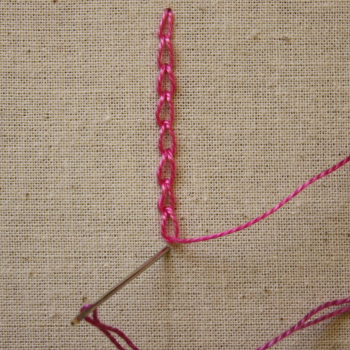 10) To finish the row of chain stitch push your needle through the fabric just below the last loop. |
|
|