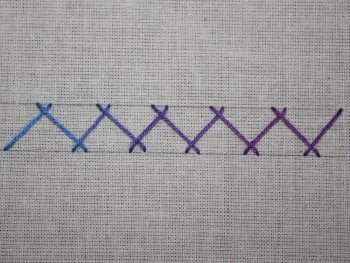
Herringbone Stitch
A
good stitch for borders and can also be used as a filling stitch. If
you want to work a row of herringbone stitch all the same height it is
a good idea to draw a couple of lines on the fabric to indicate the top
and bottom of the stitch.
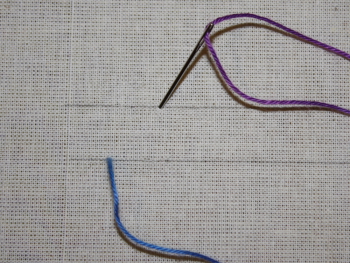
 1) Bring your needle up through the fabric on the bottom guideline. |
 2) The thread will now be at the start point for a row of stitches. |
|
|
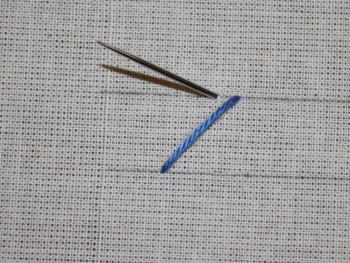
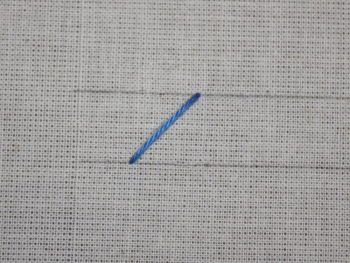 4) You will now have a diagonal stitch. |
|
|
 6) This is how it will look. |
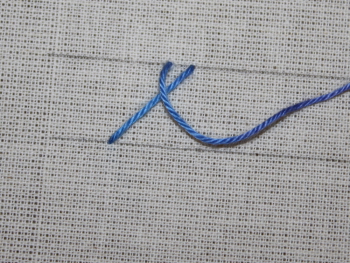
 7) Push the needle through the fabric to the right of the diagonal stitch and on the bottom guideline. |
|
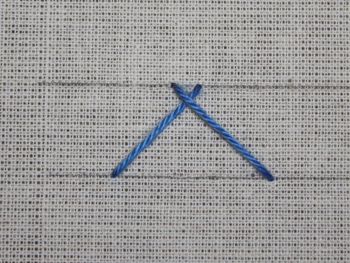
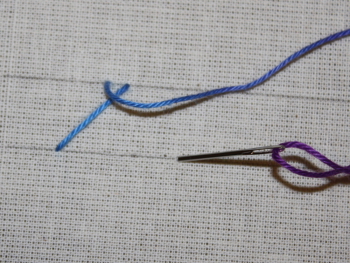
 9) Bring your needle up through the fabric just to the left of the last stitch on the bottom guideline. |
 10) This is how it looks now. |
|
|
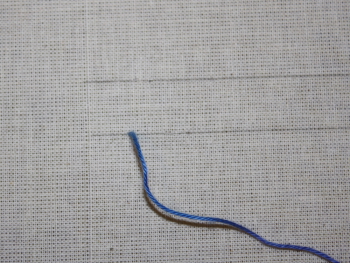
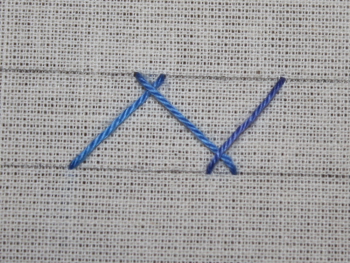 12) This is how it looks now |
 13) Keep repeating steps 5 to 12 until you have finished your row of stitches. |
|